Posted by Katherine | Saturday, 4th of January 2014 at 12:49:42 PM
Photo courtesy of Audrey Bergeron-Morin
If you have been playing taiko for any length of time, chances are that you have collected at least a few taiko t-shirts! I cleaned my closet the other day to find that I have exactly 33 taiko t-shirts…enough to fill two drawers. I counted my collection and determined that black was the predominant color! 15 of them! Does that mean that I like black? I do. That I prefer black? Probably? Or that most taiko groups make/sell black t-shirts? Quite likely. My second highest number is blue (light and dark). Of those, I own seven. I have five red ones and three green, and I also have one each of white, brown and beige.
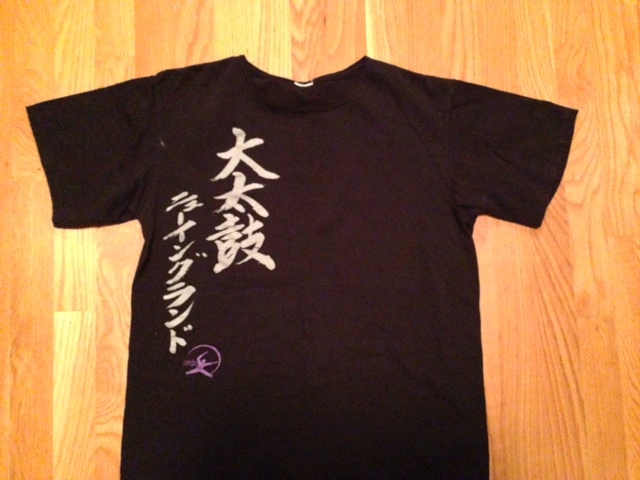
Where have I gotten all my taiko tees? Some I have bought in Japan, and some I have gotten at taiko conferences, workshops or concerts. I have also received some as gifts, and of course, I have several which I have from Odaiko New England. T-shirt styes come in a women’s cut or unisex. I own some of each, but most of my t-shirts are unisex.
What constitutes a great taiko t-shirt? Well for everyone that is different. Color and design no doubt play a part. Some shirts have loud splashy designs, some don’t. Some designs are contemporary, and some more traditional. Some might even use cartoonish graphics or fonts. Many use Japanese writing/calligraphy. Some taiko groups have a signature color, and some don’t. My preferences, however, are driven less by design and more by the weight and quality of the fabric. I favor cotton or a cotton blend that is lighter in weight and a bit stretchy.
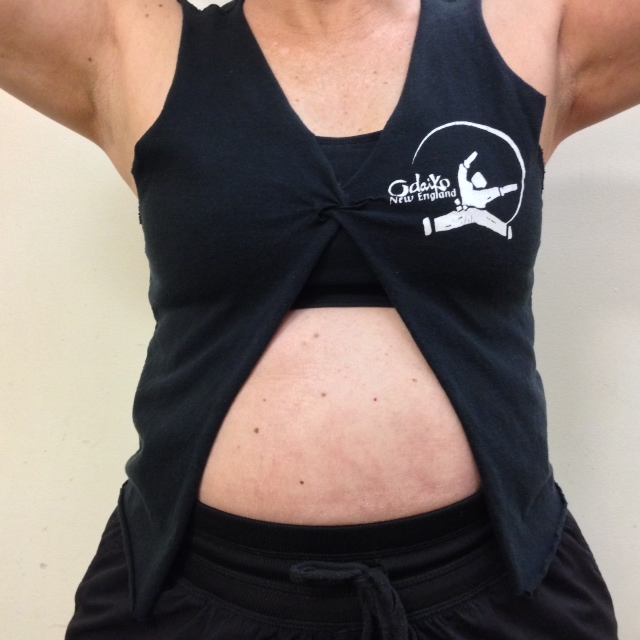
One thing you can do with taiko t-shirts is customize them. You can tear or cut a t-shirt to give it a completely different look. Here’s an example of what an Odaiko New England member did to modify a t-shirt. Another friend of mine completely retooled a taiko t-shirt by cutting its sleeves and neck, taking it in on the sides to make it more form fitting and by adding a crocheted edge on the neck and sleeves. Both approaches are great ways to dress up and/or personalize your tee!
You can also take the lazy-man approach and just cut the neck and/or sleeves a bit, which is about all that I ever do. This makes them a little cooler to wear…not in a fashion sense but in a temperature sense! If you are looking for some interesting ways to cut or modify a t-shirt, there are many great instructional videos online. Just search by entering key words like “cut t shirt designs” and many lots of videos will crop up.
Where can you wear your taiko t-shirt? Well, to taiko practice obviously. Taiko performances. Or pretty much anywhere. I traveled with someone recently who had several different colors of her taiko group’s t-shirt, so she wore a different one each day of the trip! Given that I have 33 taiko t-shirts, I could probably go an entire month of without ever having to launder one!
I wondered if my collection of tees were similar in number to what other taiko players and pros had, so I posed the question to the Facebook taiko community. Responses varied. Some had a few, and some had close to the number that I had. One had about 80 shirts. The winner by far though was a one well-known North American taiko professional who said that she had “two 80-gallon bins, probably another three 24-gallon bins, three drawers and others scattered here and there.”
And what can you do with worn-out taiko t-shirts or ones that have become too small? Recycle them in creative ways! You could make a quilt. It will be pretty when done but can be a little difficult to sew since t-shirt material is stretchy. Apparently this is something several taiko players have done. Or you can make something like a drawstring bag (www.instructables.com) which could be used for toting taiko accessories! And of course, you can also just pass them on to someone else!
Posted by cat | Friday, 29th of March 2013 at 09:47:10 PM
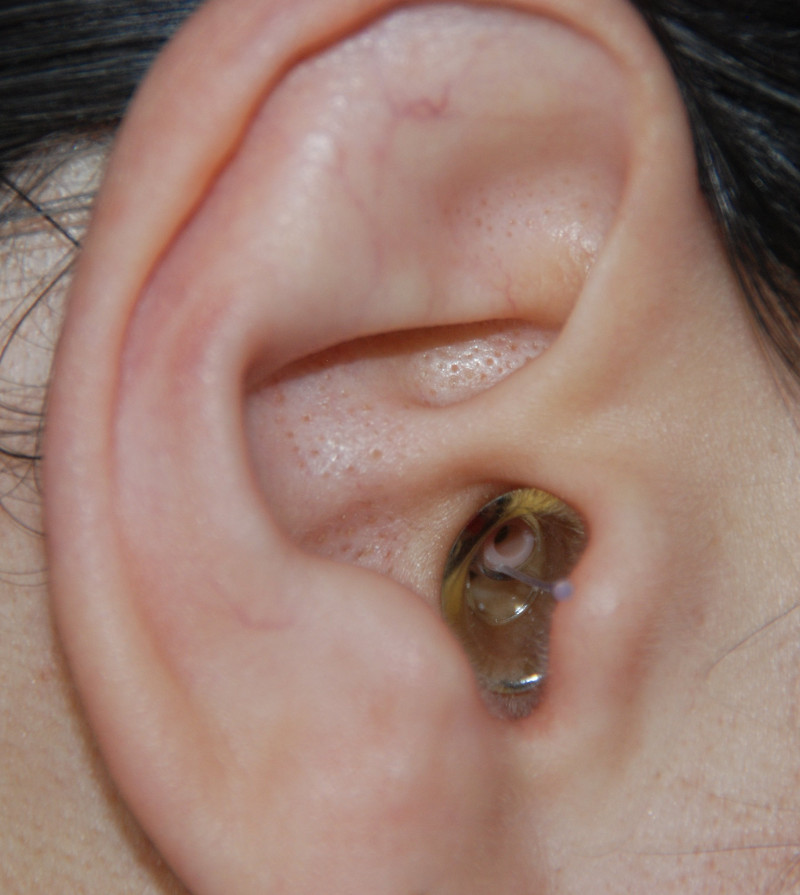
One of the most important things to do, as a musician, is to protect your hearing. Taiko is definitely no exception, given how loud the drums can be, especially in a room with over 30 drummers, but it’s also important to be able to hear the music so that we can sound our best. The cheap foam ear plugs give good protection, but also block out the subtleties of sound that you need to hear in order to make music. For many years I’ve been using the etymotic er20. They’re affordable (about $12 per pair) and still let you hear the sound and voices clearly, but with them it is sometimes hard to know that you have them in right and I was worried they weren’t giving enough protection, so I decided to take a chance on a $40-$50 pair of ear plugs, the Earasers.
When I first got them, I was very pleased with the design and the feel of the ear plug, but I was concerned that they had less attenuation in the lower frequencies than the ER20s. Having paid $40, I was a little unhappy, so I phoned them up, and I’m so glad I did. This company’s customer service is great. They spent a long time with me talking about my needs and talking to me about how they designed the ear plugs that way to better let through speech and other musical sounds. I explained that I already had mild tinnitus in that range and that I knew I needed more protection. They then handed me to the head of the company who, after being perfectly happy to discuss attenuation, how they created their graphs, and a little bit about statistics on their tests, said he would send me one of their not yet for sale pairs with a much stronger filter. When it arrived, I gave it a try.
They’re very comfortable. They’re a little harder to get in than the ER20s, but it is much easier to tell when they are in correctly. Once in, they almost disappear in the ear. I had a bit of difficulty at first when they would lose their seal if I smiled or opened my mouth, but I found that if I gave them one last little twist at the end of putting them in, this made the problem go away.
I still haven’t properly tested how much attenuation they give me, at each frequency nor have I looked at the frequency break down of the sound in the dojo, but given how amazing the company was, I wanted to get word out, especially because they are so willing to work with customers. These earplugs are designed to be an intermediate between inexpensive plugs like the ER20s and professional, custom molded ear plugs which run in the hundreds of dollars. They’re quite comfortable and I’ve already grown to love them. I do want to get them properly tested to make sure they are protecting me sufficiently, but given the company’s dedication, I have great hopes for these amazing ear plugs.
Posted by cat | Wednesday, 20th of February 2013 at 12:32:32 PM
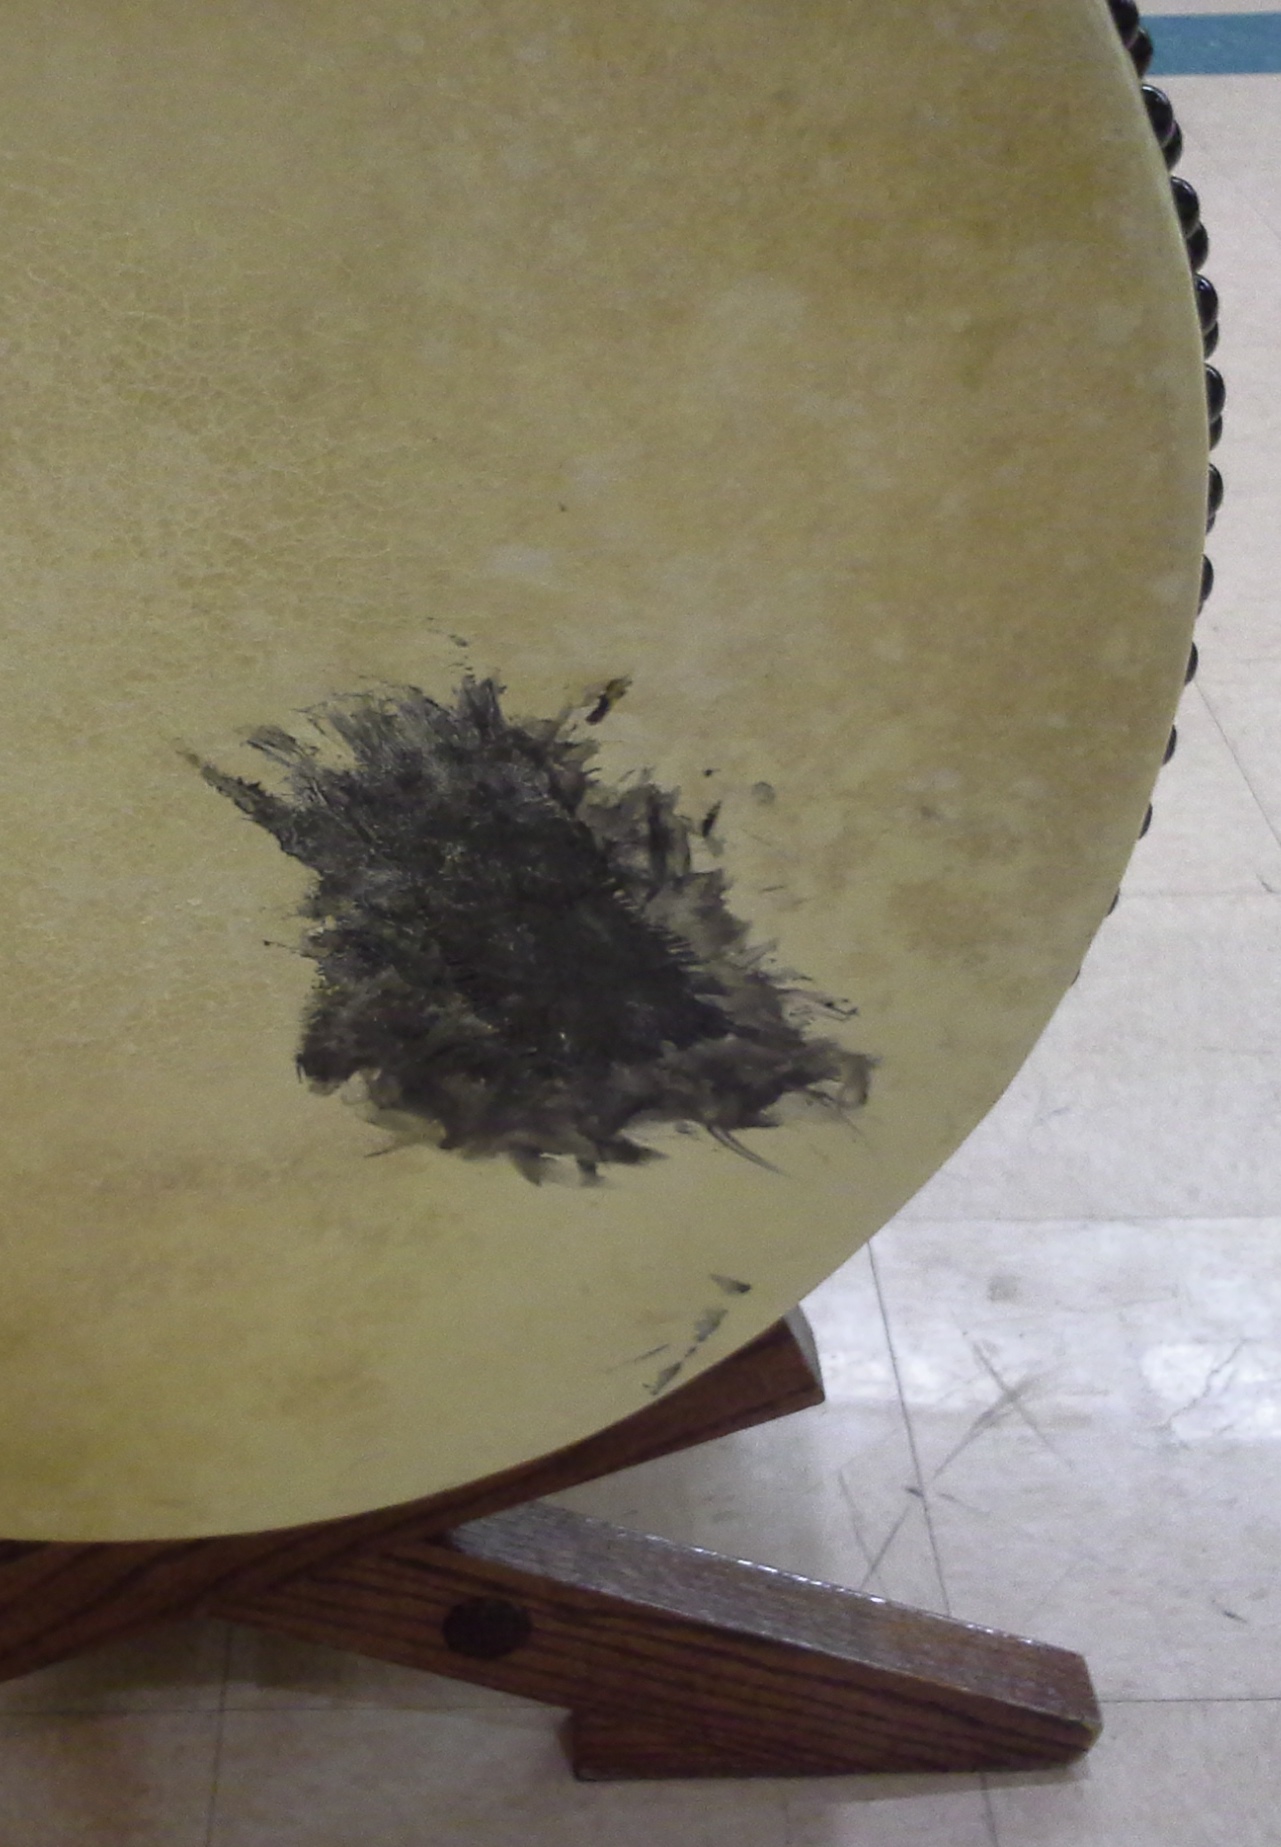
Two of our ni-shaku (or as we call them: 60-gallons) drum heads had holes in them. With our Miyake workshop with Kazuhiro Tsumura coming up, we scrambled to get the materials we needed to re-head. Unfortunately, our tacks and hides did not arrive in time, so I was forced to patch the heads. Asking around, someone suggested I use fiberglass boat repair. Rita had some spare fiberglass cloth, so I just needed epoxy. I looked around for something flexible and found car bumper epoxy, which, sadly, only came in silver.
The patching had variable success.
The two tears were very different. One had been “patched” with duct tape and had grown to about 7″ long. The other one was much smaller, only about 3″ long. Application was reasonably easy, but the longer tear was bulging out, so I applied a piece of plastic to it, and put it on a surface to let it dry flat. This might have affected the drying of it, but I’m not certain if it made an adhesion difference and the plastic made the surface perfect.
So how did it fare?
The larger patch didn’t even last an hour. It had separated cleanly from the drum. I ripped off 75% that had come free. The last 25% slowly came off before the end of the workshops. I think, even with how quickly the patch failed, it still gave us a bit longer on the head. By the end of the workshop the tear was huge and the head was mostly unplayable even for the purpose of practicing. Watching the patch fail, I’m not sure there was anything that could have patched a tear that large. With each hit, the two edges were traveling a huge distance, and mixed with the vibration, it’s a harsh environment for any patch.
The small patch did well and survived the two days of Miyake! Close to 6 hours of use, and it didn’t really show any fraying or cracking. We made sure to turn the patch as far as we could from where people should be hitting to take the strain off of it. I’m not sure how it would have fared if it had been closer to the center of the head.
All in all, not bad at all, in a pinch. I’m really looking forward to getting these two re-headed and back in shape, especially since I think most of the heads are all the same age and so the other ones are likely to tear soon as well.
And the workshop itself? Amazing! But that is a tale for another post.
Posted by beth | Monday, 13th of February 2012 at 04:46:49 PM
For me, 2011 was a year of change. The biggest and most obvious being my transformation from taiko obsessed landscape designer to taiko obsessed landscape designer who is also a mother.
Thinking back, each month of my pregnancy is intertwined with taiko.
My first ultrasound. My baby was nothing but a blurry blob with a heartbeat.
In January, I found out I was pregnant right before On Ensemble arrived for a visit.
I had a terrific time hosting Shoji and Kelvin, and taking a private lesson and workshop led by Kris, but I have to admit I was a little distracted.
Don (OMG) Kon (I’m) Don (pregnant!) kara ka ka
With the other instructors and the organizers at the first ever East Coast Taiko Conference.(L-R: Me, Tanya, PJ Hirabayashi, Stuart Paton, Miles Endo,Jon Wang, Daniel Porter, Alan Okada, Merle Okada, Mark H Rooney) photo by Matthew Tom-Wolverton
By February, I’d started to feel different.
Constant thirst and frequent headaches were the worst symptoms of all the changes taking place internally. But that didn’t stop me from traveling with Tanya to represent Odaiko New England by presenting two workshops at the first ever East Coast Taiko Conference. I felt a little out of place with the other instructors, but rather than trying to teach taiko, Tanya and I focused on our areas of expertise–core strength and flexibility, and having fun with taiko. So we taught workshops on body awareness and taiko games.
In March, at my second ultrasound, I saw my baby move for the first time.
Rather than spending the whole month stunned by this development, I joined Gertrude for a day trip to New York to take our first sanshin lesson from Junko Fisher. Gertrude and I share an interest in Okinawan music and culture, so it was wonderful to meet and learn from Junko.
March also presented an opportunity to see Kodo perform at Symphony hall, and briefly greet them backstage. It was a lot of fun to see Kodo members I’d met a couple of years earlier while they were still apprentices, playing with such power and grace under the spotlights.
Playing Kashmir at Anime Boston (4 months pregnant)
By April, my headaches were a lot less frequent, which was lucky since ONE was facing the usual spring onslaught of performances. At a high school in New Hampshire, I swear I heard one of the rowdy boys shouting “I love you, Beth”. Really? Did I hear that right? Well, I know he wasn’t serious, but I also know he doesn’t know he’s shouting at a pregnant lady possibly twice his age.
5 Months
May brought a performance at the Arnold Arboretum on Mother’s Day.
I already felt enormous, but I don’t think anyone in the audience figured out that I was a future mother.
6 Months: Artists for Japan fundraiser, Playing Chichibu Yatai Bayashi with Shane
In early June, Odaiko New England participated in the Artists for Japan fundraiser with our fellow Boston area taiko groups, Rutsubo and the Genki Spark.
By July, I felt truly enormous. Although taiko had kept me going for so much of my pregnancy, I was starting to loose steam.
7 Months
My final pre-motherhood performance was at the Blackships festival in Newport Rhode Island. It was a blast, but it wasn’t easy: Saturday afternoon included 3 short performances in the shopping area, and Saturday evening we played Hiryuu Sandan Gaieshi at the gala. (After we played, one of the guests of honor, the governor of Shizuoka Prefecture, actually took a moment to compliment our performance!) The next day, the rest of the group arrived for the big hour-long show on a sunny baseball field. I applied sunscreen liberally, drank lots of water, and played in every song.
In August, heat, exhaustion, travel plans, and my work were all adding up, so I found it difficult to make it to the dojo. But I did make it to one of the Edobayashi workshops taught by Isaku Kageyama. Edobayashi is a style that challenges me where I am weakest as a taiko player, so I’m glad I had the chance to take the workshop.
On September 1, Mark H. Rooney stopped by to teach a katsugi okedo workshop for ONE members. That was a blast, though playing a drum slung over my shoulder while nearly full term was a little awkward. (I admit I was a little worried about whacking myself in the stomach). After the workshop, my taiko family presented me with a box full of wonderful taiko themed baby clothes.
Posted by kate | Tuesday, 31st of January 2012 at 04:12:32 PM
Stage actors always fascinated me. As a shy person I admired and envied them: in front of a live audience they took on a new personality and pretended to be someone else: brave, silly, nasty, pathetic, noble, or tragic. How did they get the courage to do that?
Then I became a performing taiko drummer. In Odaiko New England (ONE) we have a large repertoire, and therefore need to project many characters and emotions: joy, ferocity, laid-back cool, rock-god intensity. If you are shy, you know that none of these comes naturally to a shy person, especially one with stage fright. Slowly and painfully, I taught myself to pretend: to act joyous, ferocious, cool, intense. Gradually I discovered that “acting” joyous on stage brought out silly, happy childish parts of me I never knew existed. “Acting” joyous freed me to be openly joyous. In the same way, acting ferocious frees the predator in me. I glare at the audience: they are the herd, my natural prey, and when I leave the drum I am going to leap off the stage and hunt them down like a tigress. Some roles are harder than others. The rock-god persona of one of my favorite ONE songs, Kashmir (inspired by the Led Zeppelin piece), is perhaps the most difficult. As a middle-aged woman with bad knees, it is hard to visualize myself as a rock goddess. So I call on my long-suppressed inner rock heroine: eternally young, arrogant, and wicked. And out she comes – glamorous, challenging, triumphant. Am I entirely convincing? Probably not, but my role in the troupe is not to be a star. My job is to support my ensemble, to help us transmit together as a group the message we are rock gods to the audience, and make them leap to their feet screaming at the end of Kashmir. Which, happily, they often do.
There is more to taiko performing, of course: transitions, backstage traffic jams, onstage surprises, offstage distractions, outdoor weather crises, transportation and equipment mixups, missed cues, flying bachi, free-running dogs – all of the haps and mishaps that create the stories we tell over beer and pizza. We are a troupe of performers, with a shared history and a shared identity: we are Odaiko New England.
Posted by Shane | Thursday, 1st of September 2011 at 05:36:15 PM
We want to send a big thank you to all the people who have supported ONE through donations, volunteering, attending concerts and workshops, buying merchandise and all the other ways I’m forgetting to mention right now. It takes a lot of resources to keep an organization like ONE running. Last year we asked for donations specifically for equipment maintenance and purchases, and recently we have begun purchasing drums with those donations. So far we have purchased a three foot diameter hira-daiko and three san-chogake shime which you can see in the following picture. Your support made this possible and we want you to know how much we appreciate it. Thank You!
Posted by Shane | Thursday, 25th of August 2011 at 04:14:46 PM
Odaiko New England’s Artistic Director Juni Kobayashi performed the first movement of her ambitious new composition “Ganesh Awakens” at Taiko Ten at the 2011 North American Taiko Conference. Juni’s piece was the only solo piece performed at Taiko Ten and it received an overwhelmingly positive reception. If you were not able to make it to the conference this year then here is a video of the performance.
Posted by Shane | Thursday, 11th of August 2011 at 05:48:19 PM
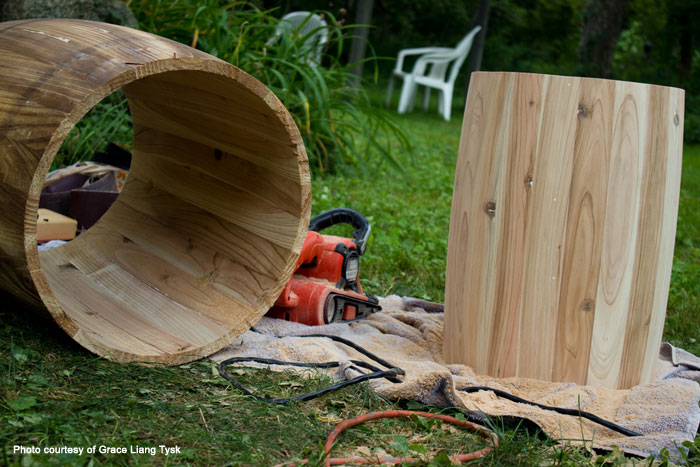
Whether perceived or real, pretty much every taiko group has an equipment shortage. (Who doesn’t want more dums?) Taiko are expensive. Maybe you need more chus, odaiko, or shime. Groups tend to supplement their stock of drums by building practice drums out of PVC, cardboard, tires, tape, trash cans, etc… However, playing drums with heads made out of packing tape isn’t exactly the performance paradigm that we all strive for, so if you are short on a particular type of drum you need to think about making some of your own. Taiko building skills, however, aren’t exactly something everybody is born with. You are luck if you have a few people in your group that are up to the task. Those few try to include other people in the process, which is great, but watching someone build a drum or hammering in a few tacks is different from actually doing it from start to finish. Also, by extension, teaching someone how to build a drum presents its own set of challenges. The experience of building a drum from start to finish is in some ways a right of passage that I think everybody should experience. Once you have done it yourself you have not only a greater understanding and connection with your drums but a greater understand of all the work those people in your group who make the drums (and stands!) go through to provide you with that equipment.
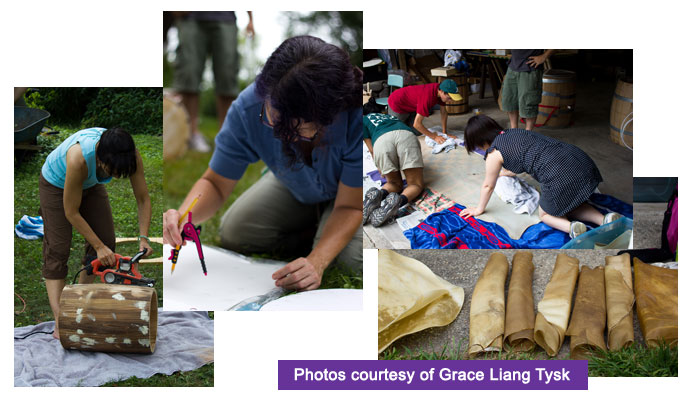
Mark H Rooney started a building project at ONE a while back to have all the members build themselves okedo. Currently we have about 15 people attempting to make over 20 okedo (some of us are making two). The interesting part about this is that everybody, regardless of drum-building skill or experience, is attempting to do the same thing independently. Initial progress was slow, finding all the materials required at a reasonable price was challenging. Eventually we identified a source for barrels that could be converted into appropriate bodies. (Making stave bodies is too advanced for someone with no woodworking experience.) Rings were more difficult and took quite a bit of searching before finding someone who could make enough of the right size for a reasonable price. Skins were easy, we buy those all the time. The total materials cost per drum is about $150 depending on the size (we are making a few different sizes). Now comes the hard part, actually building the drums.
Mark H was the first to finish an okedo, being an experienced builder with 60+ drums under his belt (yes, he has a very large belt). This was his first okedo though, and he was kind enough to make a lot of the mistakes for us. Let me tell you, that advice and foreknowledge is invaluable and we appreciate is immensely! I recently finished mine as well (at least my first, I still have to tackle the second). Mark and I compared notes and even though we used the same set of resources (primarily Brian’s excellent guide to Making an Okedo-Daiko) we ended up with two very different drums built with some pretty divergent methods. We compared notes and shared our experience with the group and anybody else who would listen. Based on what we learned from each other we are each going to go about building our second drums differently. Many of the other members have made progress on or finished their bodies at this point and are moving on to sewing their heads. Many of these people who cut, shaped, sanded, and painted those barrels into bodies don’t even own a saw and have no woodworking experience at all, yet they are getting it done and doing a great job. So far all the bodies are very unique, each one is a snowflake that reflects the builders personality. Since we are only providing each other advice and leaving each individual to do ALL the work on their own we are seeing a lot of interesting and unique ideas develop. I’m excited to see how they will all turn out!
Posted by Shane | Wednesday, 18th of May 2011 at 01:22:11 PM
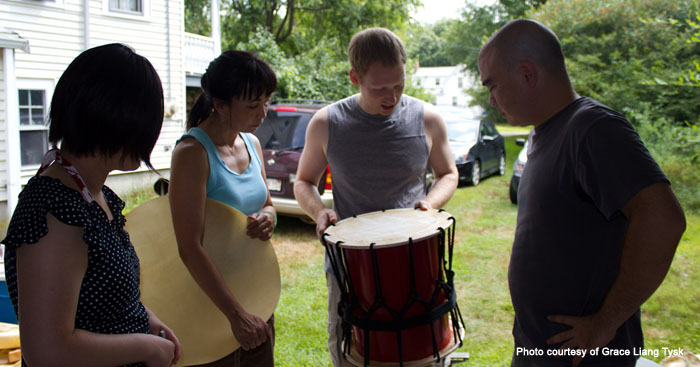
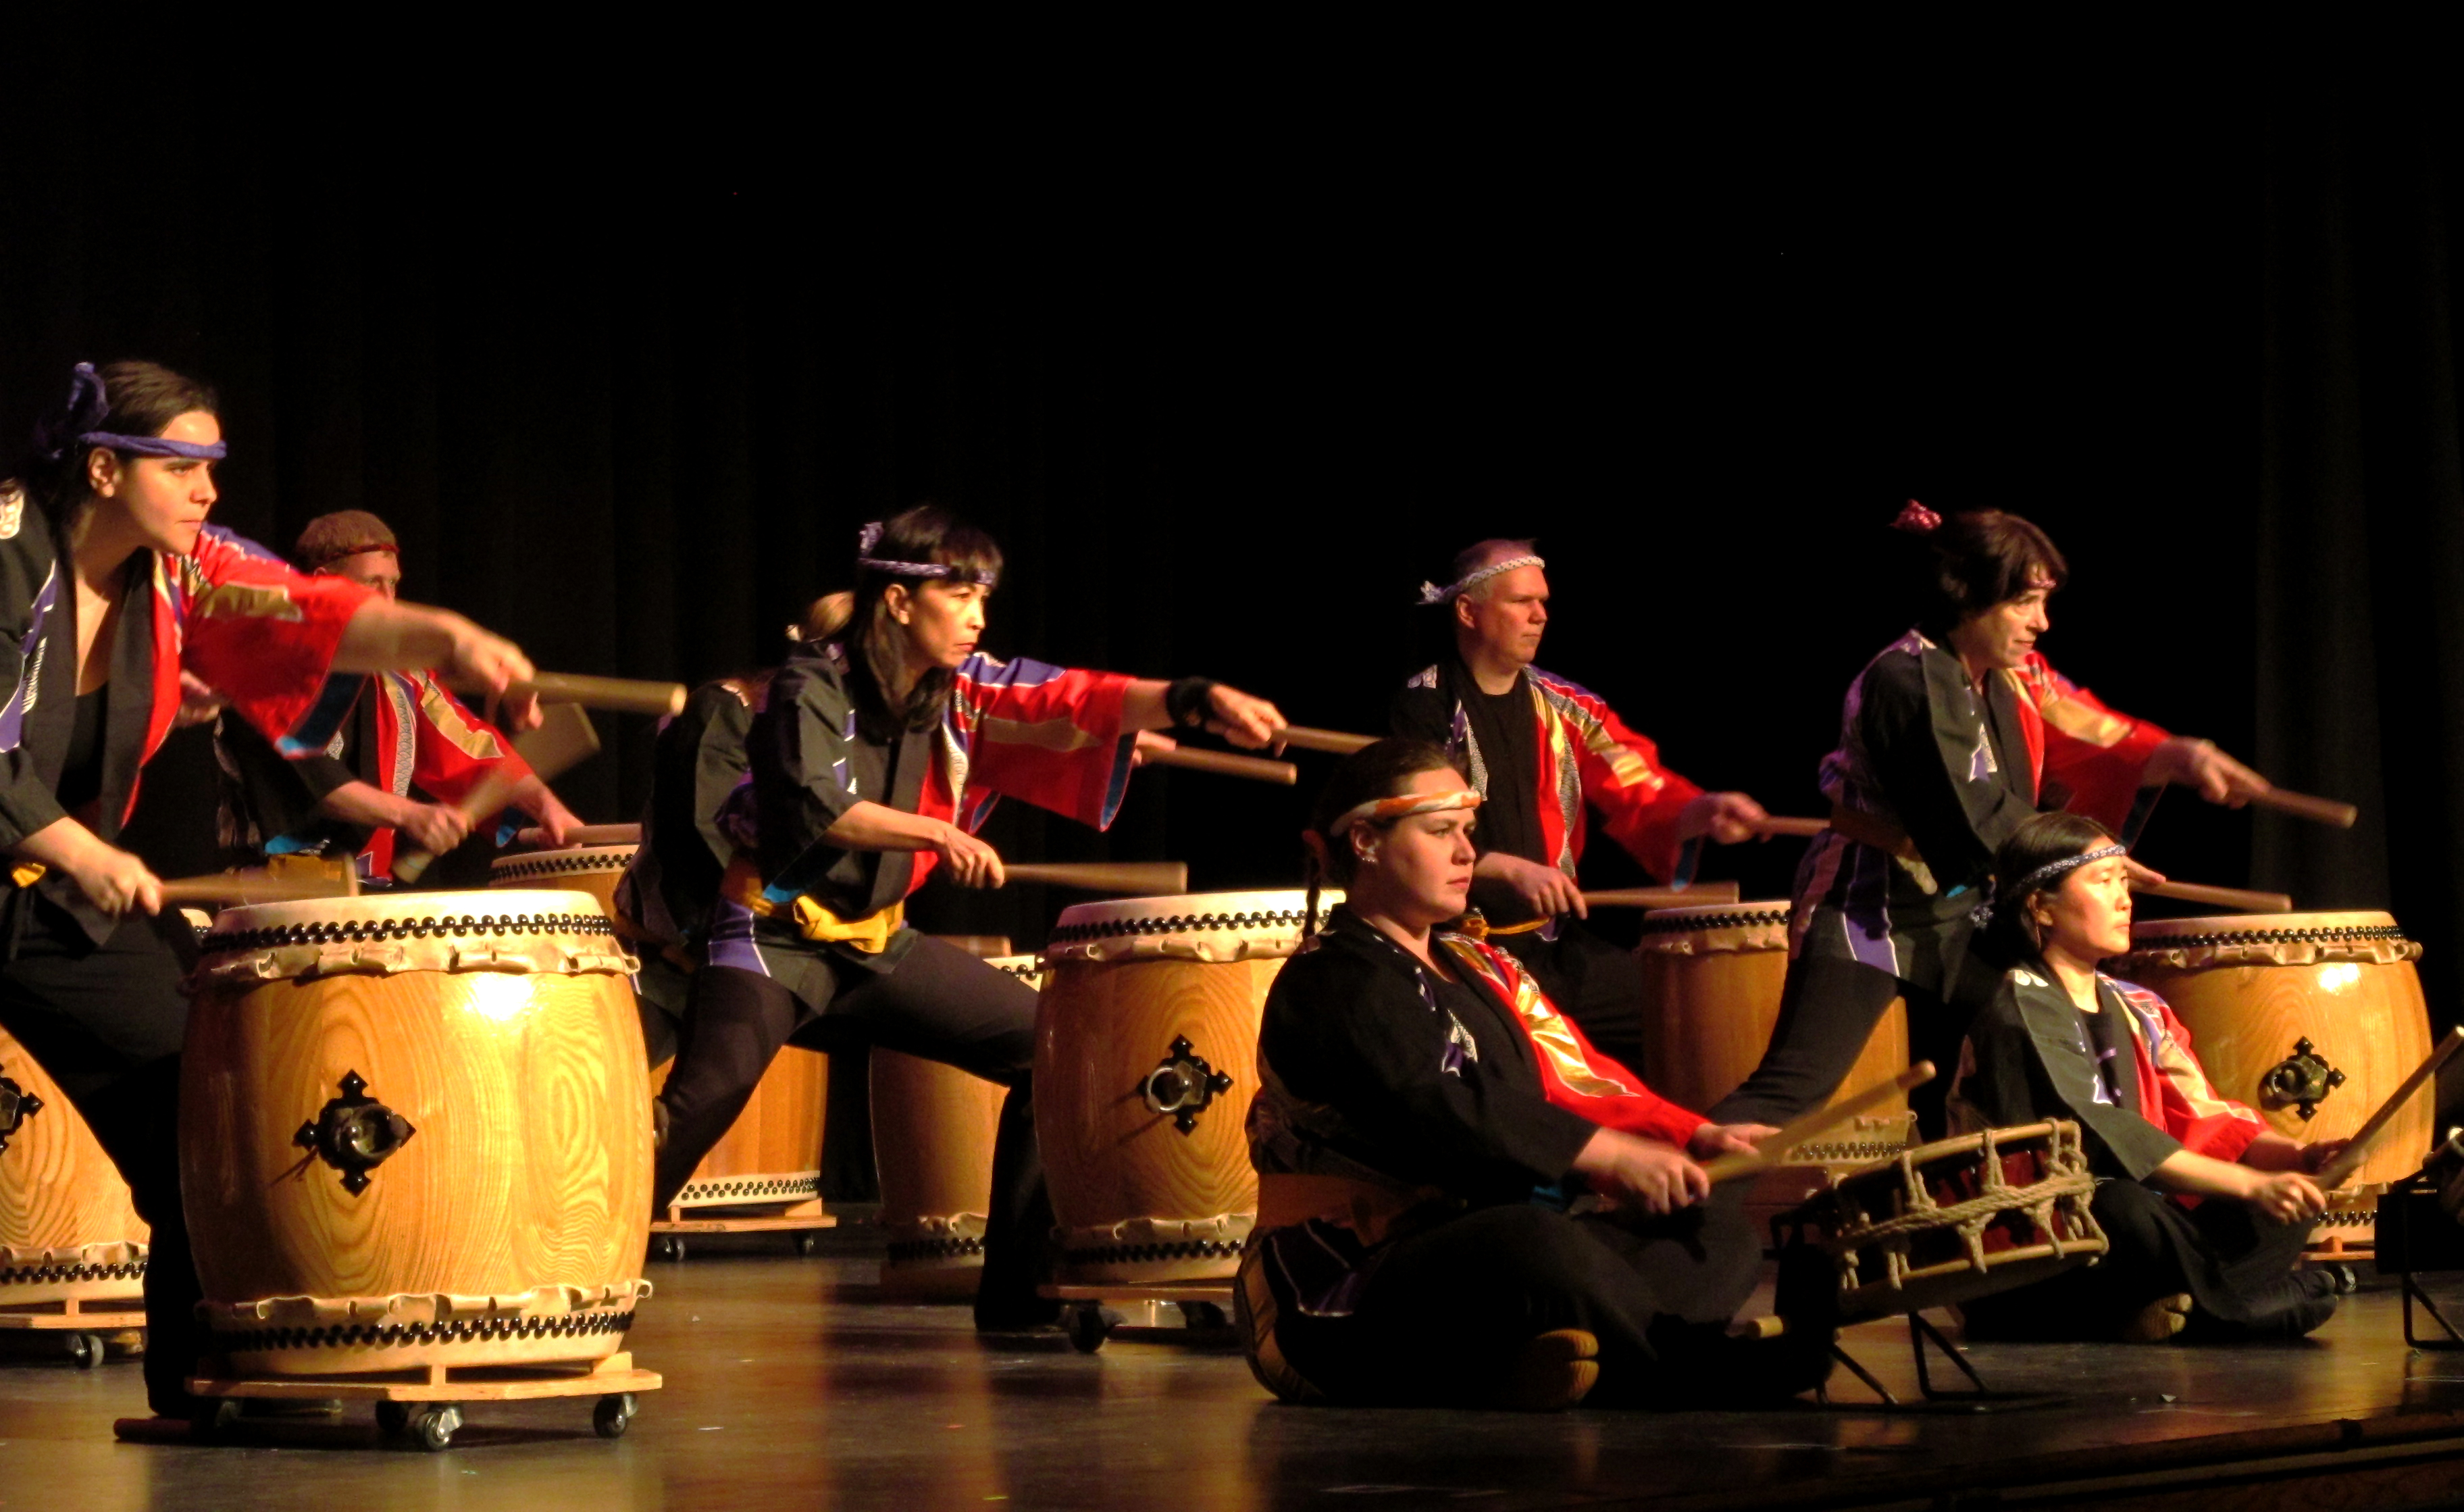
On Saturday, May 14, 2011 Odaiko New England hosted our annual Spring Thunder Festival at Concord-Carlisle High School in Concord, MA. The Spring Thunder Festival is a Showcase/Recital that performs two primary functions: it allows students who have been learning songs a chance to perform in public and it brings together local groups to meet each other and experience each others performances. In the photo below ONE members perform Mahora, a song composed by K. Fujii and inspired by the powerful and everlasting flow of the Hidaka river, Ryujin-mura, Japan.
Photo courtesy of Grace Liang Tysk
While this is a regular event for us, there were many aspects to this year’s show that were different from previous years. Most notably, this show was produced by our new Artistic Director, Juni Kobayashi. Our previous Artistic Director, Mark H Rooney, has relocated to Washington D.C. and was not able to join us. We missed having him, but we feel Mark was in a way present at this event embodied in the new three foot diameter hira daiko that he just completed for the group. Below you can see ONE members surrounding the new drum Mark made for us; we are all trying to get a hit in simultaneously.
Photo courtesy of Grace Liang Tysk
Odaiko New England’s classes have grown a lot over the last few years and it was very apparent at this show. In addition to Odaiko New England Members, there were performances by the ONE Recreational Taiko Class, the ONE Styles Class, and the Concord-Carlisle Adult & Community Education (CCACE) Taiko Class. The Recreational and CCACE classes include students who have been playing for as little as a few months whereas the Styles class consists of more experienced students who have been playing for at least a numberswiki.com
year.
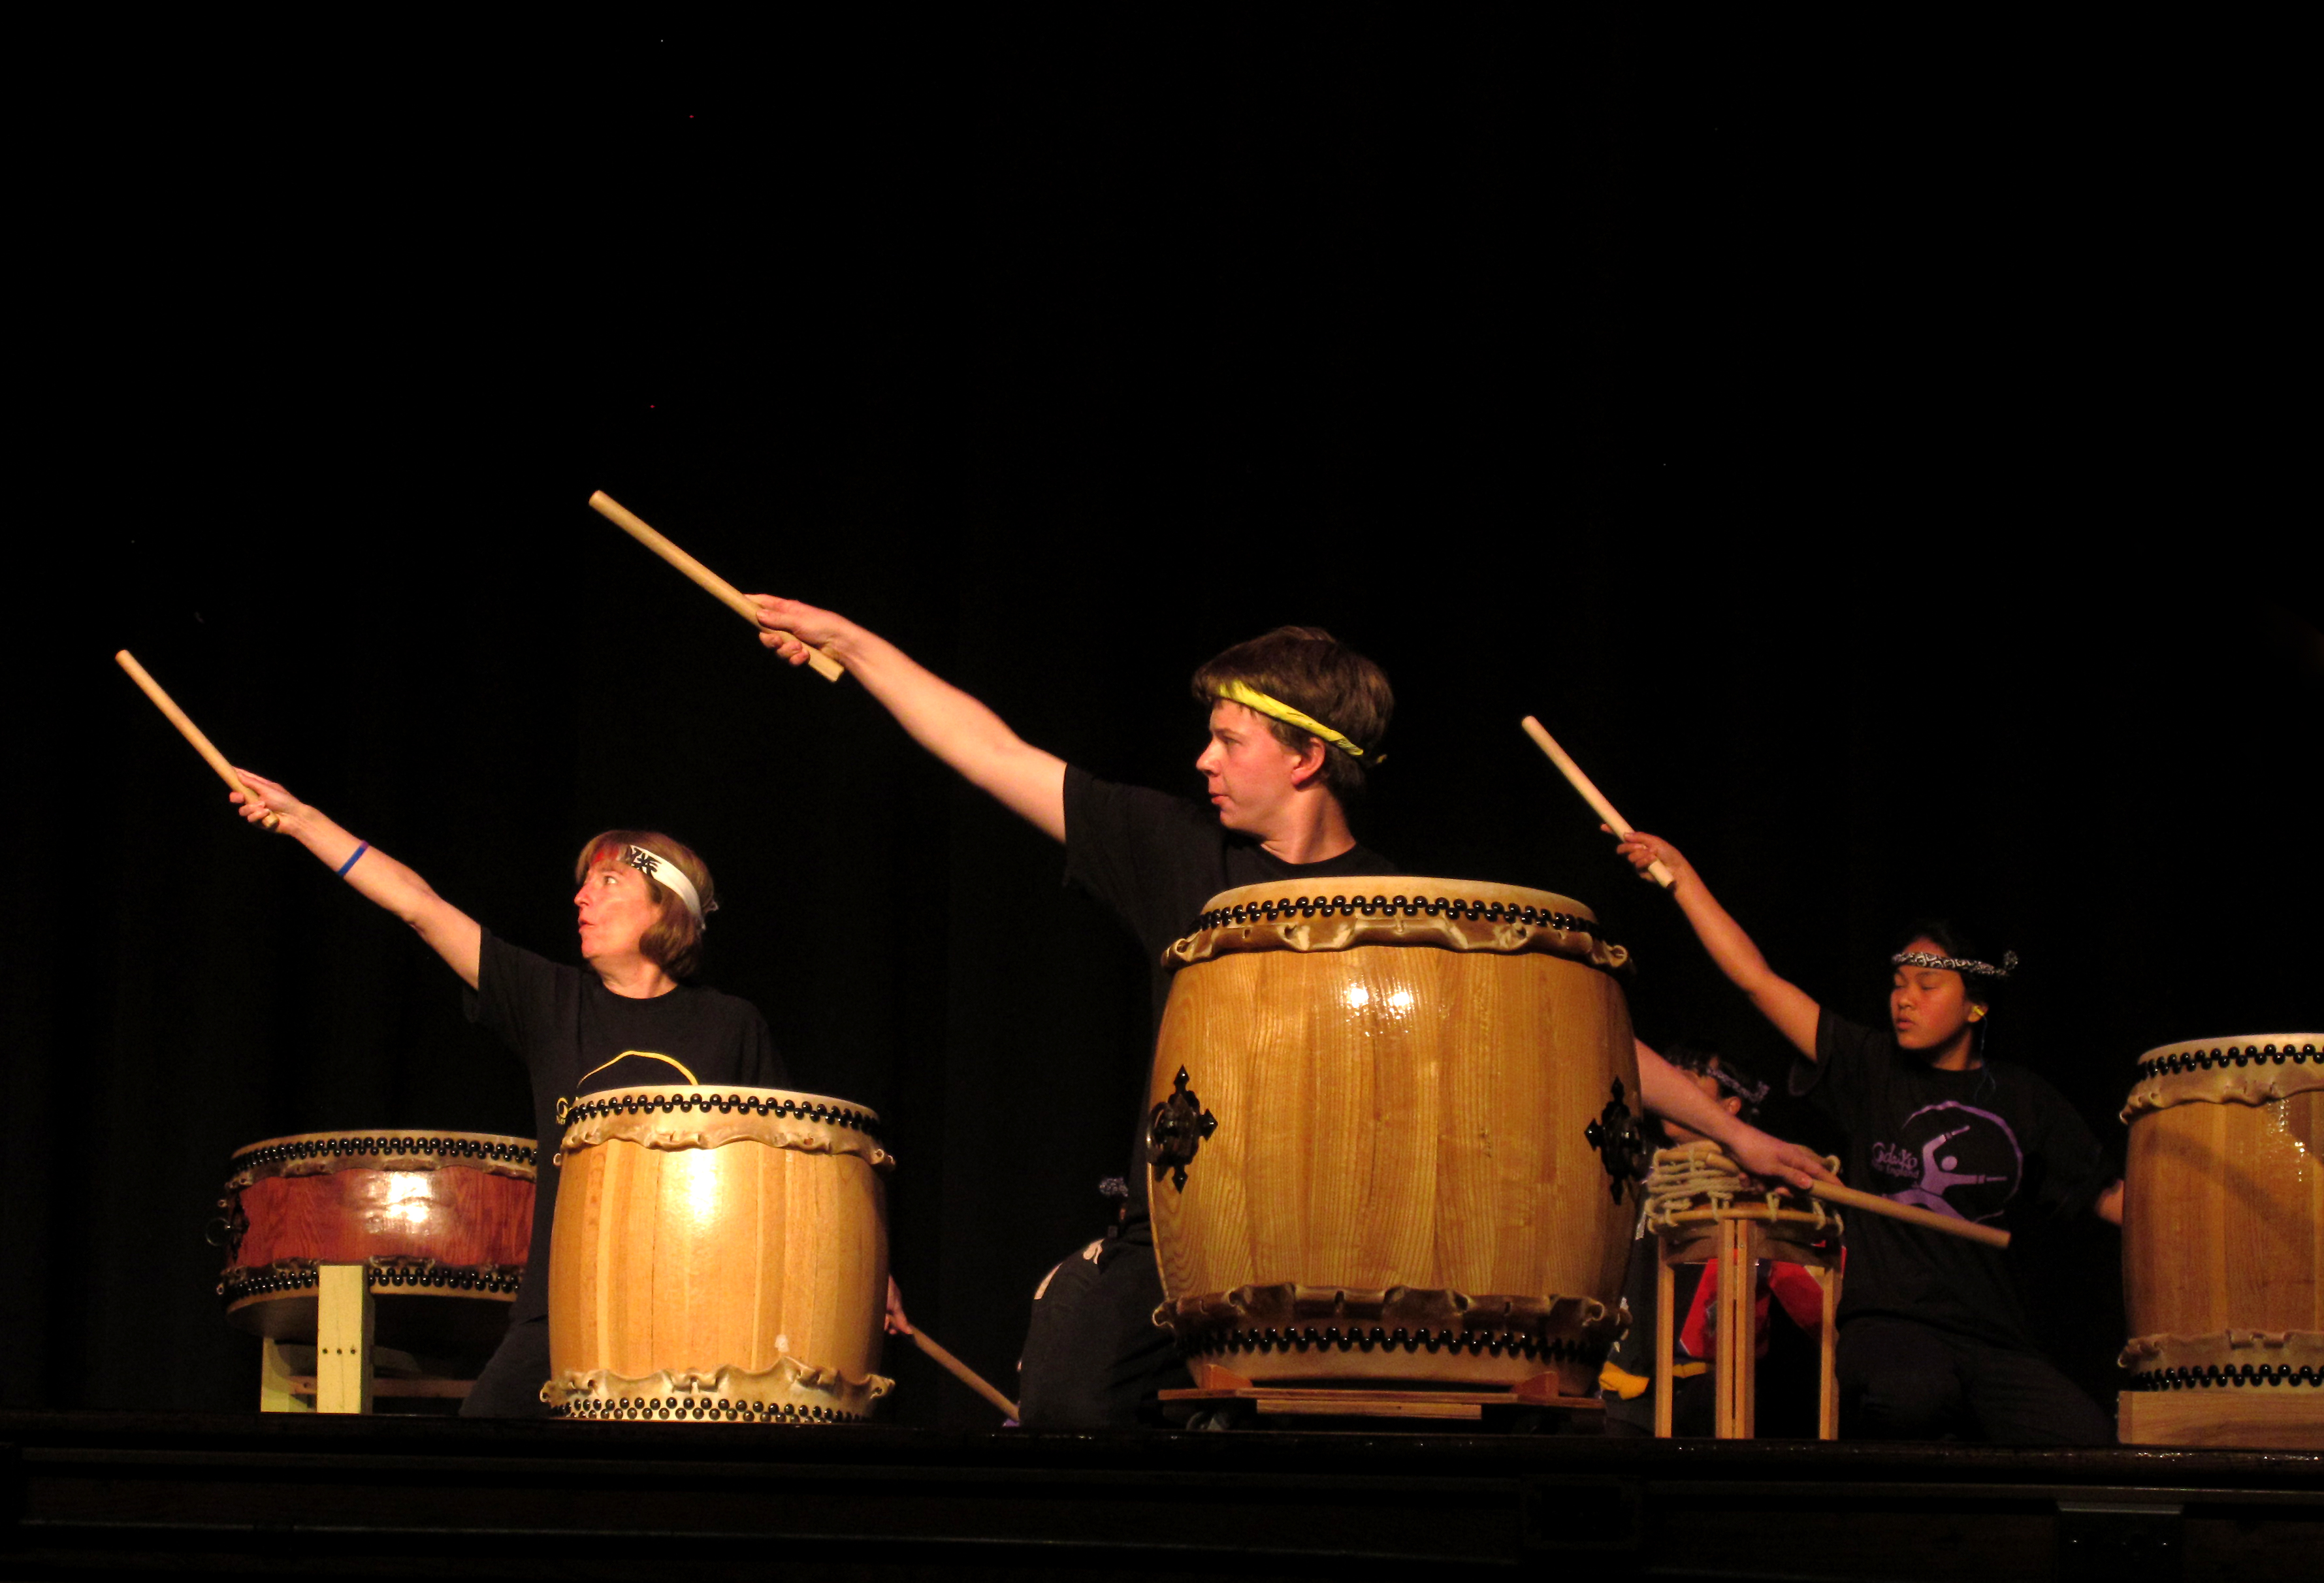
In the photo below the ONE Styles class is playing the piece they worked on this semester over the last 16 weeks, Yatai Bayashi. This is a very challenging piece and learning it in 16 weeks is a huge accomplishment.
Photo courtesy of Grace Liang Tysk
In the photo below the Concord-Carlisle Adult & Community Education (CCACE) Taiko Class is playing Hiryuu Sandan Gaeshi. Hiryuu is a piece created from traditional Osuwa rhythms by Daihachi Oguchi. The song calls upon the dragon gods to come to earth three times to bless mankind with peace, prosperity, and good fortune.
Photo courtesy of Grace Liang Tysk
In the photo below the ONE Recreational Taiko Class is also playing Hiryuu San-dan Gaeshi. It may have been the second performance of the piece that night, but the Rec Class delivered an energetic reprise.
Photo courtesy of Grace Liang Tysk
Before the last song of the night we had a round of Audience Participation (AP). The AP, as always, was a big hit (pun intended). We had in excess of 30 drums at the show, which made for quite the cacophony at times…everybody was pretty eager to get a chance to make some noise. The performance ended with all the groups together playing Kokyo, which is a piece Mark H Rooney learned from Sensei Sasa of Wakahaya Taiko in Shimodate, Ibaraki Prefecture. After the show there was a potluck reception where the audience and performers got a chance to mingle. There was plenty of good food and good conversation to go around. As with previous years, the Showcase was a lot of fun and a big success!
from Ordinary Socks: Step 2″ src=”http://blog.onetaiko.org/wp-content/uploads/2010/09/TabiSocks-Step2.jpg” alt=”Step 2: Turn inside out and use a whip stitch to sew the edges together.” width=”640″ height=”480″ />
Step 2: Turn inside out and use a whip stitch to sew the edges together.

 example of what an Odaiko New England member did to modify a t-shirt. Another friend of mine completely retooled a taiko t-shirt by cutting its sleeves and neck, taking it in on the sides to make it more form fitting and by adding a crocheted edge on the neck and sleeves. Both approaches are great ways to dress up and/or personalize your tee!
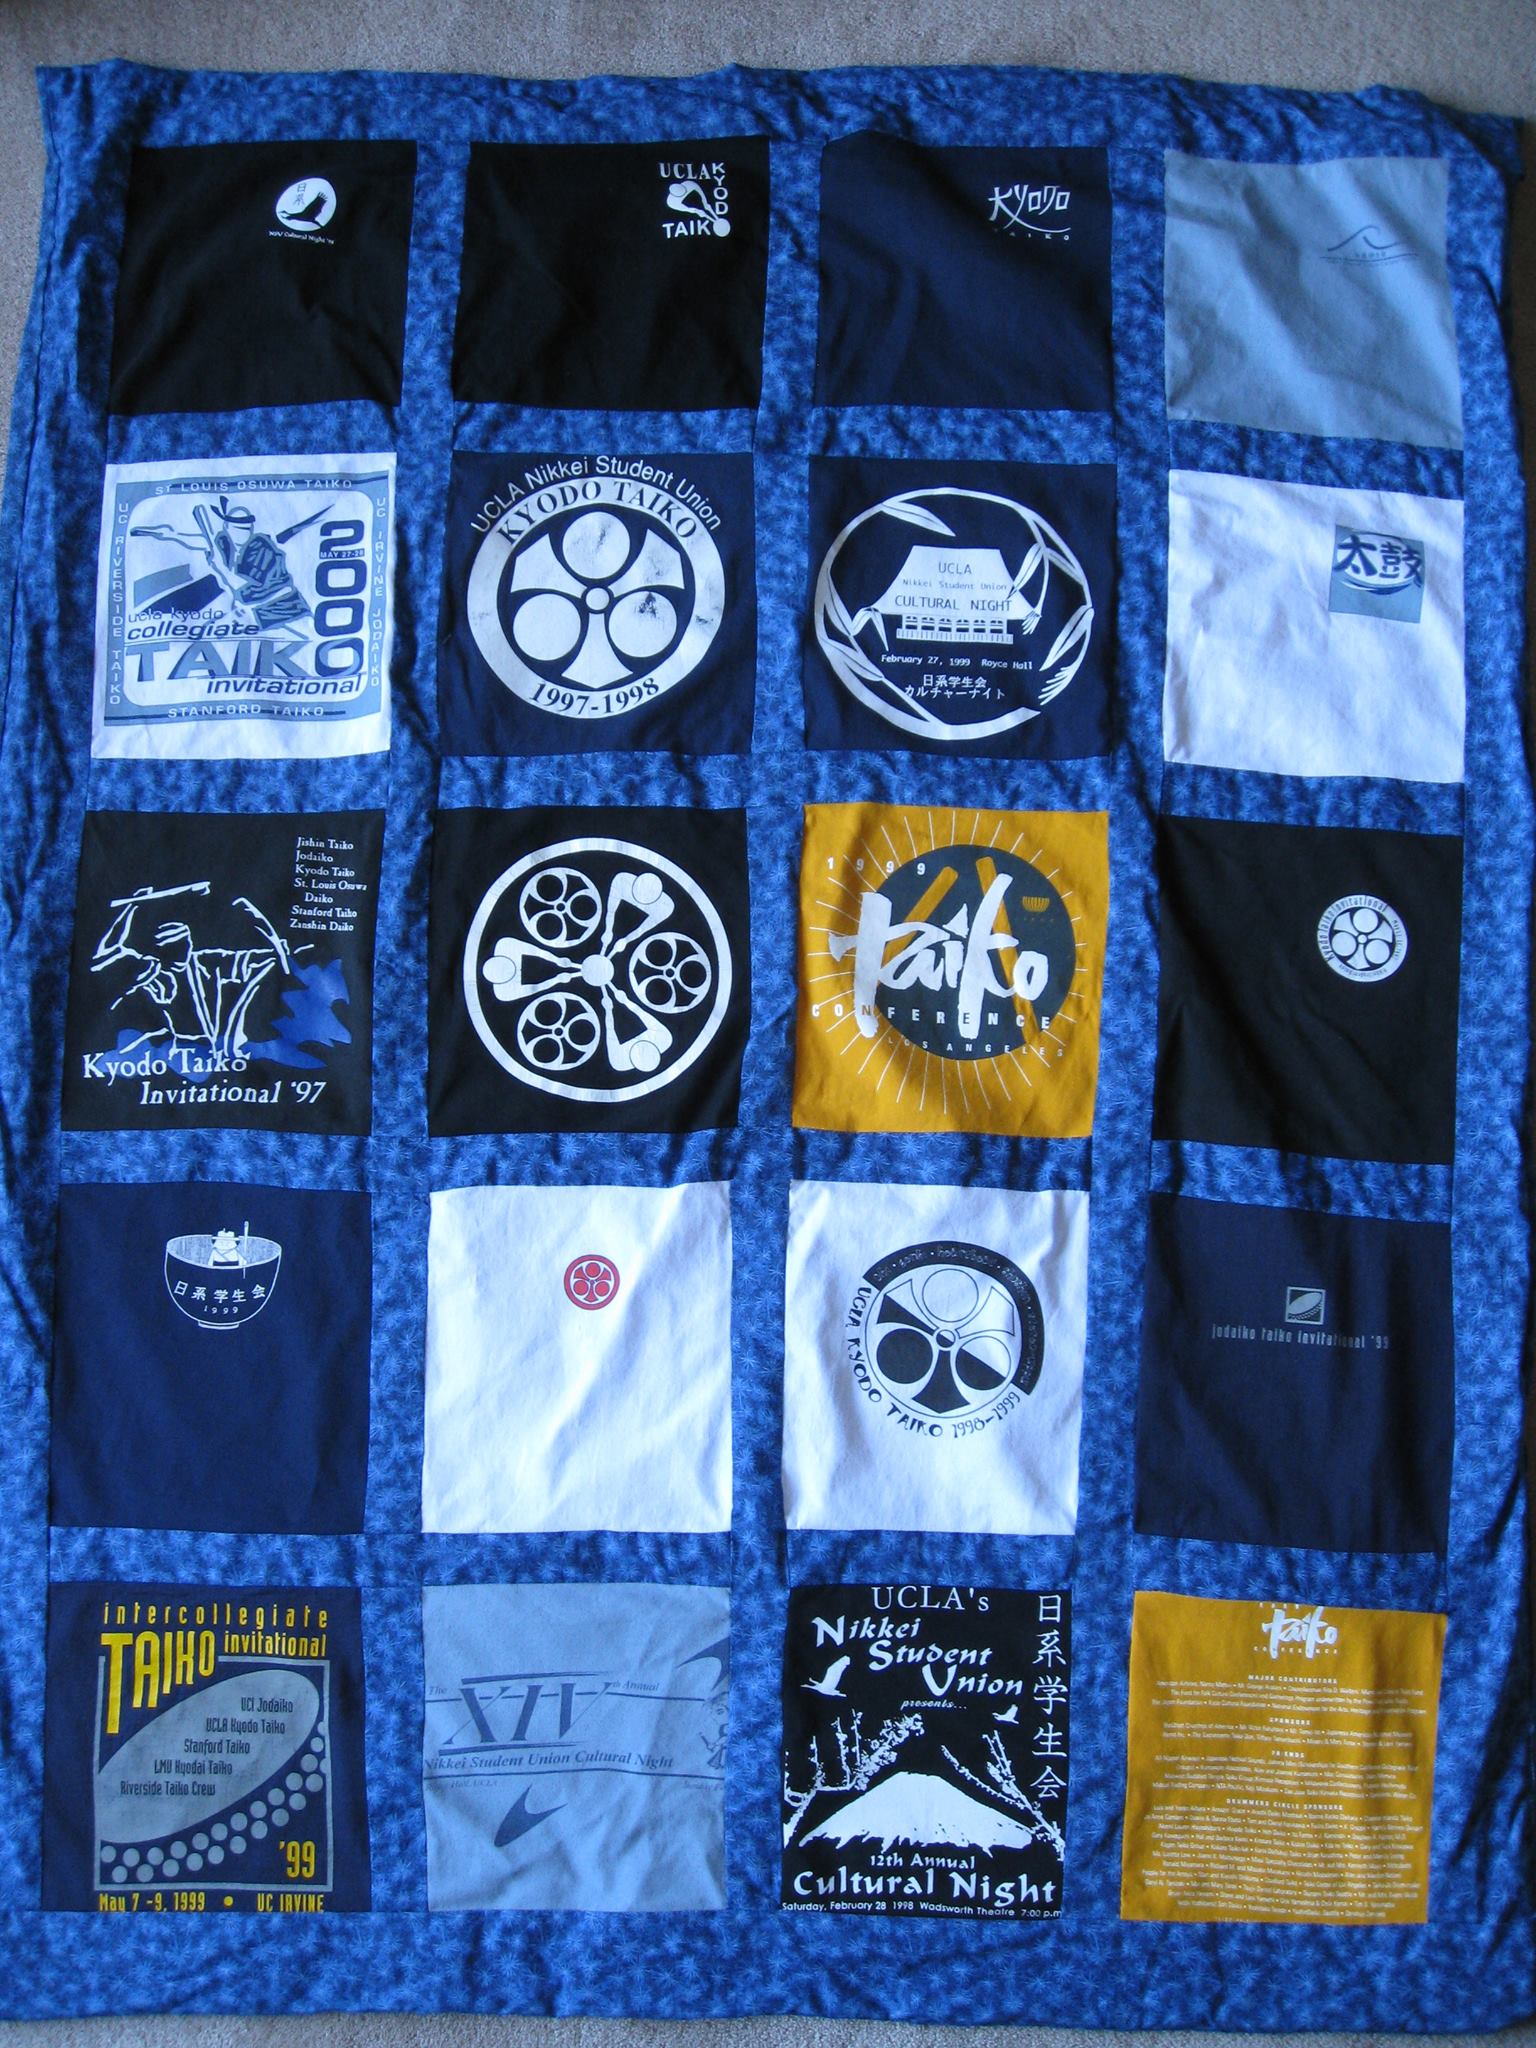


 more info